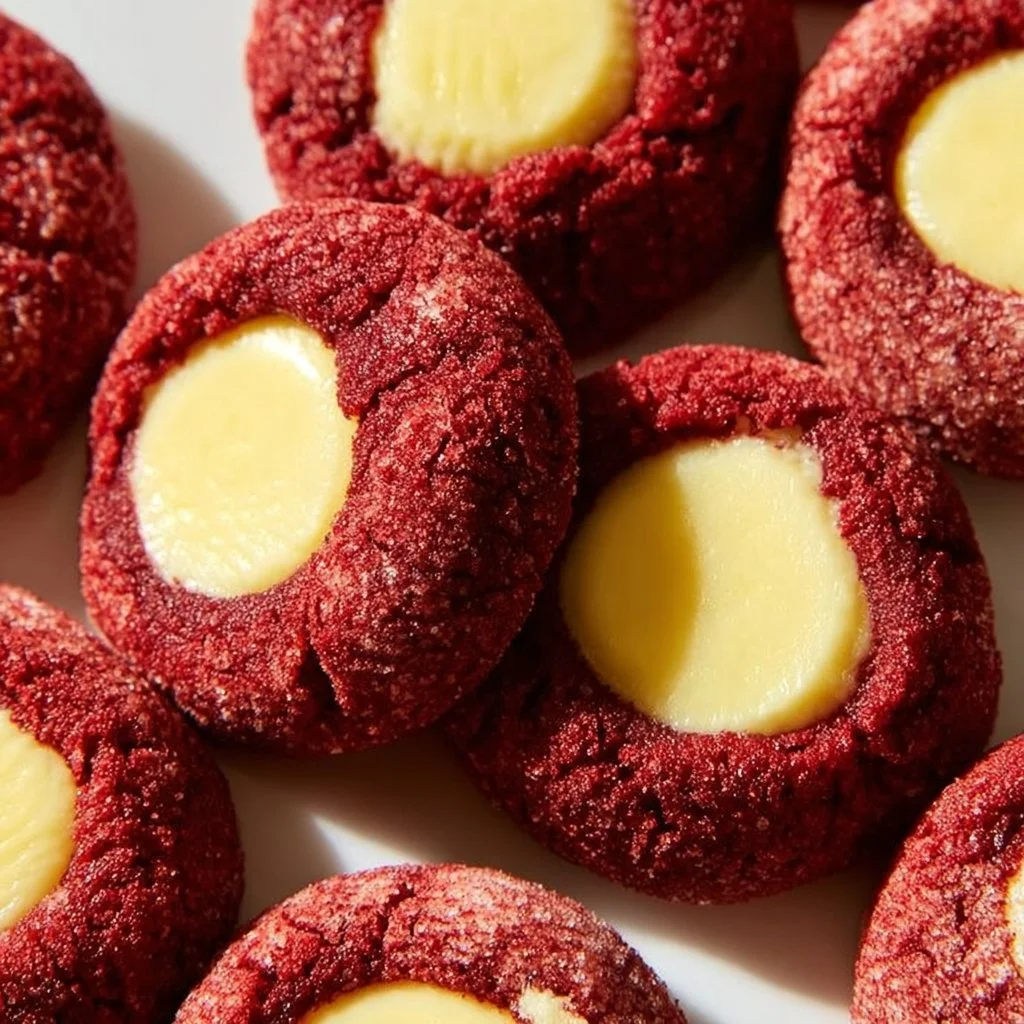
Red Velvet Treat is a delightful dessert that has captured the hearts of many with its vibrant color and rich flavor. This cake is known for its deep crimson hue, velvety texture, and subtle cocoa undertones. Often associated with celebrations, it’s not only visually stunning but also incredibly delicious. When you slice into a Red Velvet cake, the bright red interior contrasts beautifully with cream cheese frosting, making it a showstopper at any gathering. Baking this treat allows you to indulge in something truly special, whether for a birthday, holiday, or just to satisfy your sweet cravings.
Why We Love This Red Velvet Treat Recipe
The love for this Red Velvet Treat extends beyond its beautiful appearance. What makes it even more appealing is the delightful blend of flavors. The slight tang from the buttermilk and the sweetness from the sugar come together in perfect harmony. Additionally, the gentle chocolate flavor from the cocoa powder gives the cake a unique twist that sets it apart from other cakes. Its moist texture and comforting taste evoke feelings of nostalgia, reminding many of family gatherings and celebrations. This recipe is straightforward, making it accessible for both novice bakers and seasoned pros. Plus, the vibrant color makes any event feel festive!
Ingredients about Red Velvet Treat
To create the perfect Red Velvet Treat, you’ll need a few essential ingredients that come together to create its signature flavor and color. Here’s a list of what you’ll need:
- 2 cups all-purpose flour
- 1 1/2 cups sugar
- 1 cup vegetable oil
- 1 cup buttermilk, room temperature
- 2 large eggs, room temperature
- 2 tablespoons red food coloring
- 1 teaspoon vanilla extract
- 1 teaspoon baking soda
- 1 teaspoon white vinegar
- 1 teaspoon cocoa powder
- 1/2 teaspoon salt
These ingredients blend perfectly to give you a moist and flavorful cake that pairs beautifully with your choice of frosting.
How to Make Red Velvet Treat Directions
Making your own Red Velvet Treat at home can be a fun and rewarding experience. Follow these simple steps to ensure your cake turns out just right:
- Preheat the oven to 350°F (175°C). Then, grease and flour two 9-inch round cake pans. This will prevent the cake from sticking and make it easier to remove once baked.
- In a large mixing bowl, start by combining the flour, salt, and cocoa powder. Mixing these dry ingredients first helps to evenly distribute the cocoa throughout, ensuring that every bite has that delicious flavor.
- In another bowl, mix together the sugar and vegetable oil. This combination creates a moist base for your cake. Next, add the eggs, room temperature buttermilk, red food coloring, and vanilla extract. Blend until everything is well combined; you should see a vibrant red mixture.
- Gradually add the dry ingredients from the first bowl to the wet mixture, stirring gently until just combined. Be careful not to overmix, as this can lead to a denser cake.
- In a small separate bowl, combine the baking soda and vinegar. When these two ingredients interact, they help to create a light and fluffy cake. Add this fizzing mixture to your batter, mixing briefly until combined.
- Divide the batter evenly between the prepared cake pans. Place them in the oven and bake for about 25-30 minutes. You can check for doneness by inserting a toothpick into the center; it should come out clean or with just a few crumbs attached.
- Once baked, let the cakes cool in their pans for about 10 minutes. Afterward, carefully remove them from the pans and transfer them to a wire rack to cool completely before frosting.
You’ll find that with each step, you’re building anticipation for that first delightful slice of Red Velvet Treat!
How to Serve Red Velvet Treat
Serving your Red Velvet Treat is where the fun truly begins. Once your cakes are completely cooled, frost them with your favorite cream cheese frosting or buttercream for a classic pairing. If you’re feeling adventurous, consider adding a sprinkle of chocolate shavings or fresh berries on top for a pop of flavor and color.
To serve, place a slice on a beautiful plate, and for an extra touch, you can drizzle a bit of chocolate sauce around the edges. This presentation not only elevates the dessert but also enhances the dining experience for your guests. Whether you’re hosting a birthday party, an anniversary, or just a casual family dinner, this cake is bound to impress.
You might also consider pairing your Red Velvet Treat with a scoop of vanilla ice cream or a dollop of whipped cream. The cold, creamy elements balance the rich flavors of the cake wonderfully. No matter how you choose to serve it, this Red Velvet Treat is sure to be a crowd favorite.
Expert Tips: Red Velvet Treat
To ensure your Red Velvet Treat turns out perfectly every time, consider these expert tips:
- Room Temperature Ingredients: Make sure your eggs and buttermilk are at room temperature before mixing. This helps create a smoother batter and ensures an even bake.
- Quality Food Coloring: Invest in a good quality red food coloring. The vibrancy of your cake’s color relies significantly on the type of dye you use.
- Sifting Flour: For a lighter cake, consider sifting the flour before measuring. This adds air to the flour, creating a beautifully soft texture.
- Don’t Overmix: When combining your dry and wet ingredients, mix until just combined to avoid a dense texture. A few lumps are okay.
- Baking Time: Every oven is different; keep an eye on your cakes as they bake. Doing the toothpick test a few minutes early is a good idea to prevent overbaking.
- Creative Frosting: Try experimenting with different frosting flavors to find your favorite pairing. Cream cheese icing is traditional, but buttermilk or chocolate frosting can offer exciting variations.
These simple tips will help you enhance your baking skills and will certainly lead to a delicious outcome in your Red Velvet Treat!
How to Store Red Velvet Treat
To keep your Red Velvet Treat fresh and enjoyable, proper storage is key. If you have leftover cake, follow these steps:
- Cooling: Ensure that your cake is completely cooled before storing to avoid condensation, which can make the cake soggy.
- Covering: Wrap the cake slices or layers tightly in plastic wrap or aluminum foil. Alternatively, place it in an airtight container to maintain moisture.
- Refrigeration: Store the Red Velvet Treat in the refrigerator if you’ve used cream cheese frosting, as it requires refrigeration to remain safe and delicious.
- Freezing: If you want to store the cake for a longer period, consider freezing it. Wrap the cake layers in plastic wrap, followed by aluminum foil, and store in the freezer. To thaw, simply leave it in the fridge overnight.
By following these storage tips, you can enjoy your Red Velvet Treat for days to come without sacrificing flavor or freshness.
Variation of Red Velvet Treat
While traditional Red Velvet Treat is undeniably wonderful, you can get creative with variations to keep things fresh and exciting. Here are a few ideas to consider:
- Red Velvet Cupcakes: Instead of a full cake, pour the same batter into cupcake liners. Bake for about 20 minutes for perfectly portioned treats!
- Red Velvet Layer Cake: For an impressive dessert, bake three layers instead of two. Alternate layers of frosting and cake for a stunning presentation.
- Red Velvet Cookie Sandwiches: Use the batter to create soft cookies, and sandwich them together with cream cheese frosting for a fun twist.
- Pancakes or Waffles: For a fun breakfast twist, use the recipe to whip up red velvet pancakes or waffles. Top them with cream cheese drizzle and fresh fruit.
- Chocolate Variation: For a richer cake, increase the cocoa powder slightly to deepen the chocolate flavor, making your Red Velvet Treat even more indulgent.
These variations allow you to enjoy the deliciousness of Red Velvet Treat in different forms, satisfying your cravings while keeping your baking routine exciting.
FAQ
What is Red Velvet Treat famous for?
Red Velvet Treat is famous for its striking red color and luxurious texture, making it a popular choice for celebrations and special occasions.
Can I make Red Velvet Treat in advance?
Yes, you can make Red Velvet Treat in advance. Just ensure it’s stored properly in the refrigerator or freezer to maintain freshness.
What’s the best frosting for Red Velvet Treat?
Cream cheese frosting is the most traditional and beloved choice, but buttercream or chocolate frosting also work wonderfully.
How can I make a healthier version of Red Velvet Treat?
To make a healthier version, you can substitute some of the all-purpose flour with whole wheat flour and use less sugar or a sugar substitute. You can also incorporate Greek yogurt in place of some of the oil to reduce calories.
How long does Red Velvet Treat last?
When stored properly, Red Velvet Treat can last for about 3-5 days in the refrigerator or up to 3 months in the freezer. Just make sure to keep it well wrapped!
Red Velvet Treat
Ingredients
Dry Ingredients
- 2 cups all-purpose flour
- 1/2 teaspoon salt
- 1 teaspoon cocoa powder
Wet Ingredients
- 1.5 cups sugar
- 1 cup vegetable oil
- 1 cup buttermilk, room temperature
- 2 large eggs, room temperature
- 2 tablespoons red food coloring
- 1 teaspoon vanilla extract
- 1 teaspoon baking soda
- 1 teaspoon white vinegar
Instructions
Preparation
- Preheat the oven to 350°F (175°C). Grease and flour two 9-inch round cake pans.
- In a large mixing bowl, combine the flour, salt, and cocoa powder.
- In another bowl, mix the sugar and vegetable oil, then add the eggs, buttermilk, red food coloring, and vanilla extract.
- Gradually add the dry ingredients to the wet mixture, stirring gently.
- In a separate bowl, combine the baking soda and vinegar, then add to the batter and mix briefly.
- Divide the batter evenly between the prepared pans.
Baking
- Bake for 25-30 minutes, checking for doneness with a toothpick.
- Let the cakes cool in the pans for 10 minutes before transferring to a wire rack to cool completely.
Serving
- Frost with your favorite cream cheese frosting or buttercream. Optionally, add chocolate shavings or fresh berries.