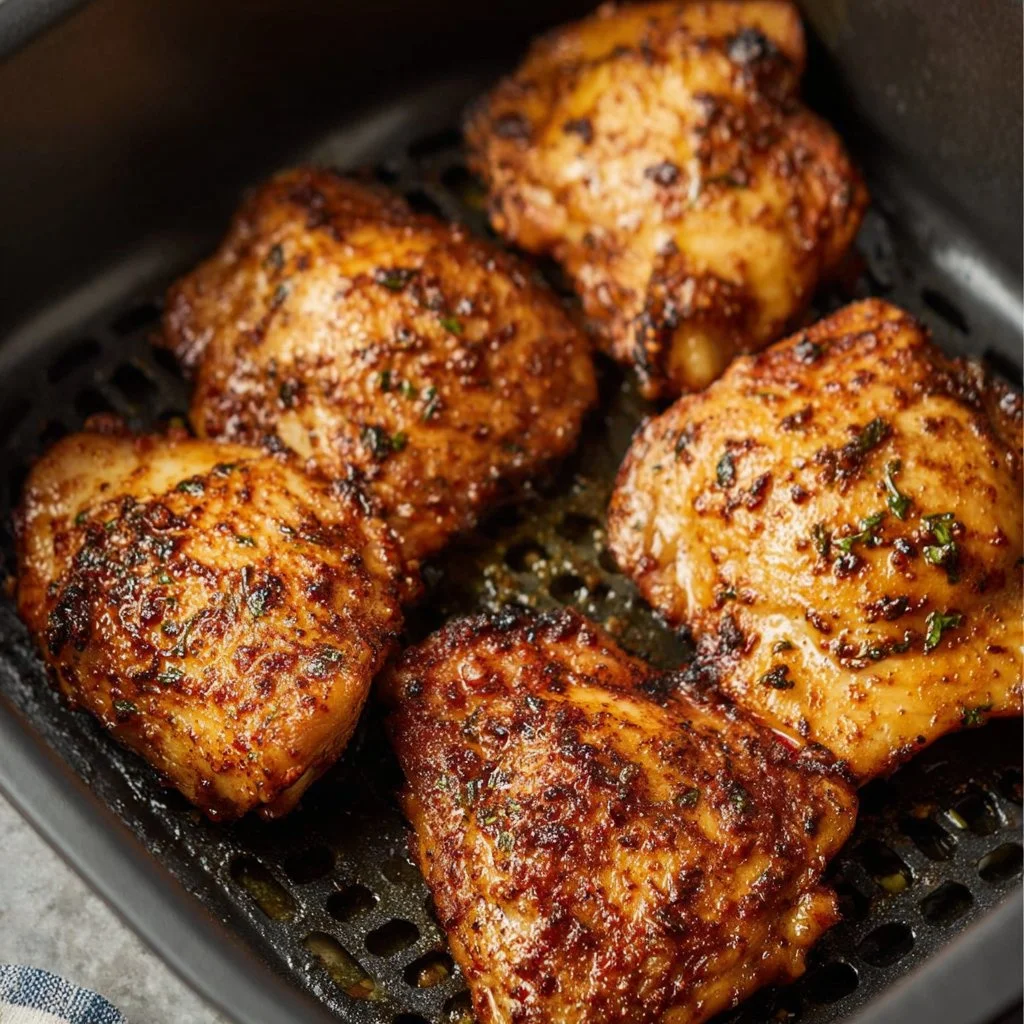
Air fryer boneless chicken thighs are a game-changer in the kitchen, providing a quick, delicious, and versatile option for any meal. The air fryer uses hot air to cook food, resulting in crispy skin and juicy meat without the need for excessive oil. You will find that these chicken thighs are simple to prepare and cook in no time, making them perfect for busy weeknights or casual gatherings.
Why We Love This Air Fryer Boneless Chicken Thighs
You’ll adore air fryer boneless chicken thighs for their incredible flavor and tenderness. The air fryer locks in moisture while delivering a crispy exterior, which is a delightful contrast to the juicy meat inside. The seasoning options are vast, allowing you to customize the taste according to your preferences or the occasion. Plus, cooking chicken thighs in the air fryer is much faster than traditional methods—ideal for when you need a quick dinner solution. The ease of cleanup makes it even better, as you won’t have to scrub a greasy pan afterward. This recipe is perfect for meal prep, dinner parties, or simply satisfying a craving for delicious chicken.
Ingredients for Air Fryer Boneless Chicken Thighs
- 4 boneless chicken thighs
- 2 tablespoons olive oil
- 1 teaspoon garlic powder
- 1 teaspoon onion powder
- 1 teaspoon paprika
- 1 teaspoon dried oregano
- 1 teaspoon salt
- ½ teaspoon black pepper
Directions
- Start by preheating your air fryer to 400°F (200°C). This step ensures even cooking and creates a crispy exterior.
- In a large bowl, add the boneless chicken thighs. Drizzle the olive oil over the thighs.
- Sprinkle the garlic powder, onion powder, paprika, dried oregano, salt, and black pepper over the chicken.
- Use your hands or tongs to coat the chicken evenly with the oil and seasoning mixture.
- Place the seasoned chicken thighs in the air fryer basket in a single layer, making sure they are not overcrowded.
- Cook the chicken for 10-12 minutes. Flip them halfway through the cooking time to ensure they brown evenly.
- Use a meat thermometer to check that the internal temperature has reached 165°F (75°C).
- If needed, cook for an additional 2-3 minutes until fully cooked.
- Once done, remove the chicken from the air fryer and let it rest for a few minutes before serving.
How to Serve Air Fryer Boneless Chicken Thighs
Air fryer boneless chicken thighs offer a delightful main dish that pairs beautifully with a variety of sides. You can serve these juicy thighs alongside a fresh salad, roasted vegetables, or fluffy rice. Consider slicing the chicken and adding it to a taco or wrap for a delicious handheld meal. For a complete dinner, you might enjoy these chicken thighs with mashed potatoes prepared using a touch of butter and garlic for added flavor. Feel free to drizzle some fresh lemon juice or your favorite sauce over the top for an extra layer of taste. If you want to impress your guests, serve them on a platter garnished with fresh herbs, which enhances both the visual appeal and taste.
Expert Tips for Air Fryer Boneless Chicken Thighs
To ensure the best possible outcome with your air fryer boneless chicken thighs, consider these expert tips. First, always preheat your air fryer; this step makes a significant difference in achieving that crispy texture. Season generously; this not only enhances the flavor but also keeps the chicken moist during cooking. You can experiment with different spice blends or marinades to switch things up according to your mood or theme. Remember not to overcrowd the air fryer basket; give each piece space for the hot air to circulate. If you have larger thighs, adjust the cooking time slightly to guarantee that they cook through without drying out. Finally, allow the chicken to rest for a few minutes once done to let the juices redistribute, making each bite flavorful and tender.
How to Store Air Fryer Boneless Chicken Thighs
After savoring your air fryer boneless chicken thighs, you can store leftovers properly for future meals. Allow the chicken to cool completely before placing it in an airtight container. You can refrigerate the cooked chicken for up to four days. If you want to keep it longer, consider freezing it; wrap the cooled thighs securely in plastic wrap or aluminum foil, then place them in a freezer bag. The chicken can be stored in the freezer for up to three months. When you’re ready to eat, thaw it in the refrigerator overnight or use the defrost setting on your microwave. Reheat in the air fryer or oven until warmed through for best results.
Variations of Air Fryer Boneless Chicken Thighs
There are numerous ways to enjoy air fryer boneless chicken thighs by simply changing up the flavor profile. For a spicy kick, add cayenne pepper or chili powder to your seasoning mix. If you prefer something sweeter, a sprinkle of brown sugar along with soy sauce can produce a delicious glaze. Try marinating the chicken in your favorite dressing for an hour before cooking; teriyaki, lemon herb, or honey mustard are excellent options. You can also experiment by coating the chicken in crushed nuts or breadcrumbs mixed with Parmesan cheese for added crunch and flavor. For those who enjoy tangy flavors, a marinade with vinegar or citrus juice can enhance the taste and tenderness. There’s no limit to the variations; get creative with herbs and spices that you love.
FAQ about Air Fryer Boneless Chicken Thighs
You may have some questions about air fryer boneless chicken thighs. One common question is how long to cook them. Typically, cooking time ranges between 10 to 12 minutes at 400°F, depending on the size of the thighs. Another frequent inquiry is about the best way to season them. You can use a blend of spices like garlic powder, paprika, and oregano for a flavorful result. If you’re wondering about the safety of cooking chicken in an air fryer, it’s completely safe as long as you ensure the internal temperature reaches at least 165°F. Lastly, can you cook them from frozen? Yes, you can, but be prepared for a longer cooking time—15 to 18 minutes should suffice; just ensure to check for doneness with a meat thermometer. Enjoy experimenting with this versatile ingredient!