When it comes to hearty dishes that warm the soul, nothing quite beats a classic bowl of chili. This Best Classic Low Sodium Chili recipe brings together a delightful mix of flavors while keeping sodium content in check. Perfect for chilly nights or as a crowd-pleaser during gatherings, this dish not only excites your taste buds but also promotes a healthier lifestyle. With tender beef, wholesome vegetables, and a unique blend of spices, you’ll be amazed at how delicious a low-sodium version of chili can be.
Why We Love This Best Classic Low Sodium Chili Recipe
This chili is all about flavor without the guilt. You can savor every spoonful knowing you’re making a healthier choice while still enjoying a dish that embodies comfort and satisfaction. The balance of spices, combined with the natural sweetness of the tomatoes and the rich flavor of the beef, creates a satisfying dish that’s destined to become a family favorite. Plus, it’s easy to prepare, making it perfect for busy weeknights or lazy weekends. You’ll love how it brings warmth and joy to your table, all while being mindful of your health.
Ingredients about Best Classic Low Sodium Chili
- 3 pounds 90% lean ground beef (or meat of choice)
- 3 tablespoons olive oil
- 1 large green pepper, diced
- 3 medium yellow onions, diced
- 6 tablespoons chili powder
- 4 teaspoons ground cumin
- 4 tablespoons dark brown sugar (or white sugar)
- 1 tablespoon smoked paprika
- 1.5 teaspoons ground black pepper
- 0.75 teaspoon cayenne pepper (optional)
- 2 teaspoons roasted cinnamon
- 3 tablespoons pre-minced garlic
- 6 tablespoons tomato paste (no salt added)
- 3.5 cups beef broth (no salt added)
- 1 (28 oz.) can Muir Glen fire roasted tomatoes (no salt added)
- 3 (15.5 oz.) cans red kidney beans (no salt added, drained)
- 1 (28 oz.) can crushed tomatoes (no salt added)
- 1 (15 oz.) can sweet corn (no salt added)
- 1 (10 oz.) can Ro*Tel diced tomatoes and green chilies (no salt added)
How to Make Best Classic Low Sodium Chili Directions
Begin your culinary adventure by heating olive oil in a large soup pot over medium-high heat. Once the oil is shimmering, add the ground beef. As it sears, break it into smaller chunks with a spatula and cook until it’s about 75% done. This step is crucial since browning the meat adds depth to the overall flavor of your chili.
Next, bring in the diced onions and green pepper to the pot. Stir everything together, allowing the vegetables to soften slightly. This will take about 5 minutes. The aroma of the sautéing vegetables combined with the beef will fill your kitchen, drawing everyone in.
Now it’s time to introduce the liquids. Pour in the beef broth along with all of the canned ingredients: the Muir Glen fire roasted tomatoes, crushed tomatoes, drained red kidney beans, sweet corn, and Ro*Tel diced tomatoes and green chilies. Mix everything thoroughly, ensuring that the cans’ nutritional benefits blend with the flavors of the meat and veggies.
At this stage, it’s time to add the heart of the chili: the spices! Sprinkle in the chili powder, ground cumin, dark brown sugar, smoked paprika, ground black pepper, cayenne pepper (if you like a bit of heat), roasted cinnamon, and pre-minced garlic. Stir well to combine all of the ingredients, allowing the spices to infuse into the simmering chili.
Now, bring your pot to a gentle boil. Once boiling, reduce the heat to low and cover the pot. Let the chili simmer for about 20 to 25 minutes for a quick version, or for up to 2 hours for a richer flavor. The longer it simmers, the more the flavors meld together, creating a hearty and robust dish.
Once done simmering, remove the pot from the heat and allow it to rest for about 5 to 10 minutes before serving. This resting period can help the flavors settle beautifully. While it cools down a bit, consider how you would like to serve your chili.
How to Serve Best Classic Low Sodium Chili
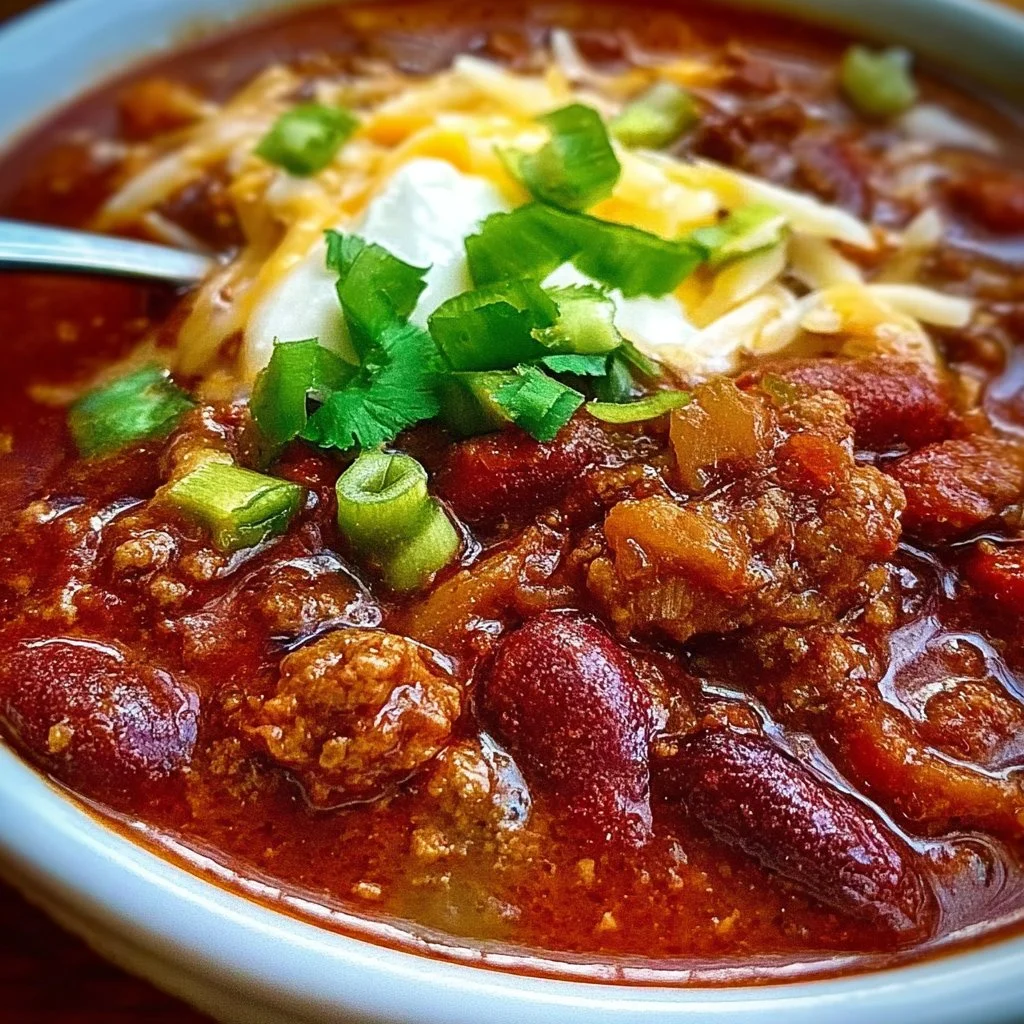
Serving your Best Classic Low Sodium Chili can be just as fun as making it. Start by ladling generous portions into bowls. You can customize each serving with optional toppings that elevate the dish even further. Consider placing bowls of sour cream, shredded cheese, diced green onions, and fresh herbs nearby, allowing you and your guests to personalize each bowl according to their taste.
Pair your chili with crusty bread or cornbread for an added touch that completes the meal. If you’re feeling adventurous, serve it over a bed of rice or quinoa for a different twist. This chili is not only great for dinner but can also serve as a delicious lunch the next day or be packaged up as leftovers for a quick meal throughout the week.
Expert Tips: Best Classic Low Sodium Chili
- Quality Ingredients Matter: Use the freshest vegetables and high-quality meat to make your chili taste even better. Fresh produce brings vibrant flavors while quality beef provides richness.
- Adjust Spices to Taste: Feel free to tweak the spice quantities according to your personal preferences. If you enjoy heat, add more cayenne or experiment with different chili powders for varying flavor profiles.
- Let It Rest: Allowing the chili to rest for a few minutes before serving helps the flavors blend beautifully and ensures that you create a well-rounded dish.
- Make It Ahead: Chili is one of those meals that tastes even better the next day. Make a large batch and store it in the fridge or freezer. Reheat and enjoy whenever you need a comforting meal.
- Use Leftover Meat: If you have leftover roast or other meats, feel free to toss them in instead of ground beef for a different flavor sensation.
How to Store Best Classic Low Sodium Chili
Storing your Best Classic Low Sodium Chili is simple. Allow it to cool completely before transferring it to an airtight container. You can store it in the refrigerator for up to 5 days. If you want to keep it longer, consider freezing it. Chili freezes well and can be stored in the freezer for up to 3 months. Just ensure that you label the container with the date for easy identification later.
When you’re ready to enjoy your chili again, simply thaw it overnight in the refrigerator and reheat it on the stovetop or in the microwave, stirring occasionally until hot.
Variation of Best Classic Low Sodium Chili
Chili is wonderfully versatile, and there are many exciting variations you can try. Swap the ground beef for turkey or chicken for a lighter version. For a vegetarian option, replace the meat with lentils or a mixture of beans, which will still provide a hearty texture.
Consider adding other vegetables such as zucchini, carrots, or even sweet potatoes for a twist. These not only enhance the flavor but also up the nutrition factor. You can also incorporate different beans, like black beans or pinto beans, to give your chili a unique character.
For a smoky flavor, consider using chipotle peppers or smoked chili powder. Remember, you can adjust and experiment with spices to find your personal favorite combination while keeping the core recipe intact.
FAQ
What makes this the best classic low sodium chili recipe?
This Best Classic Low Sodium Chili recipe triumphs by combining lean meat, fresh vegetables, and a carefully crafted mix of spices without the high sodium levels typically found in many chili recipes. You can enjoy a robust flavor while maintaining a healthier lifestyle.
Can I modify the spice levels in this low sodium chili?
Absolutely! Feel free to adjust the spice levels to suit your taste. If you prefer a milder chili, reduce the amount of cayenne or chili powder. If you like heat, consider adding extra spices or even fresh jalapeños for a kick.
How long do leftovers last for this chili, and can I freeze them?
Leftovers of the Best Classic Low Sodium Chili can be stored in the refrigerator for up to 5 days and can be frozen for up to 3 months. Just label the container with the date to help track freshness.
Is it necessary to add sugar to chili?
Adding sugar balances the acidity of the tomatoes in chili. This Best Classic Low Sodium Chili recipe includes brown sugar for a touch of sweetness that complements the spices nicely. However, you can adjust this to your preference or omit it if you prefer.
What are some common toppings for this chili?
Some delicious toppings for your Best Classic Low Sodium Chili include sour cream, shredded cheese, diced green onions, cilantro, or even sliced jalapeños. Feel free to get creative and add your favorites to personalize your chili!

Classic Low Sodium Chili
Ingredients
Main Ingredients
- 3 pounds 90% lean ground beef or meat of choice
- 3 tablespoons olive oil for sautéing
- 1 large green pepper, diced for flavor
- 3 medium yellow onions, diced
- 6 tablespoons chili powder adjust to taste
- 4 teaspoons ground cumin
- 4 tablespoons dark brown sugar or white sugar
- 1 tablespoon smoked paprika
- 1.5 teaspoons ground black pepper
- 0.75 teaspoon cayenne pepper optional
- 2 teaspoons roasted cinnamon
- 3 tablespoons pre-minced garlic
- 6 tablespoons tomato paste no salt added
- 3.5 cups beef broth no salt added
- 1 28 oz. can Muir Glen fire roasted tomatoes no salt added
- 3 15.5 oz. cans red kidney beans no salt added, drained
- 1 28 oz. can crushed tomatoes no salt added
- 1 15 oz. can sweet corn no salt added
- 1 10 oz. can Ro*Tel diced tomatoes and green chilies no salt added
Instructions
Preparation
- Heat olive oil in a large soup pot over medium-high heat.
- Add ground beef and cook until about 75% done, breaking it into smaller chunks with a spatula.
- Add diced onions and green pepper to the pot, stirring for about 5 minutes until softened.
- Pour in beef broth and add the canned ingredients: fire roasted tomatoes, crushed tomatoes, drained kidney beans, sweet corn, and Ro*Tel tomatoes.
- Stir well to combine.
Cooking
- Add spices: chili powder, ground cumin, dark brown sugar, smoked paprika, ground black pepper, cayenne pepper, roasted cinnamon, and garlic.
- Stir to combine the ingredients.
- Bring the pot to a gentle boil, then reduce the heat to low and cover.
- Let the chili simmer for about 20 to 25 minutes for a quick version, or for up to 2 hours for a richer flavor.
Serving
- Allow the chili to rest for about 5 to 10 minutes before serving.
- Ladle generous portions into bowls and offer optional toppings such as sour cream, shredded cheese, diced green onions, and fresh herbs.
- Serve with crusty bread, cornbread, or over rice or quinoa.