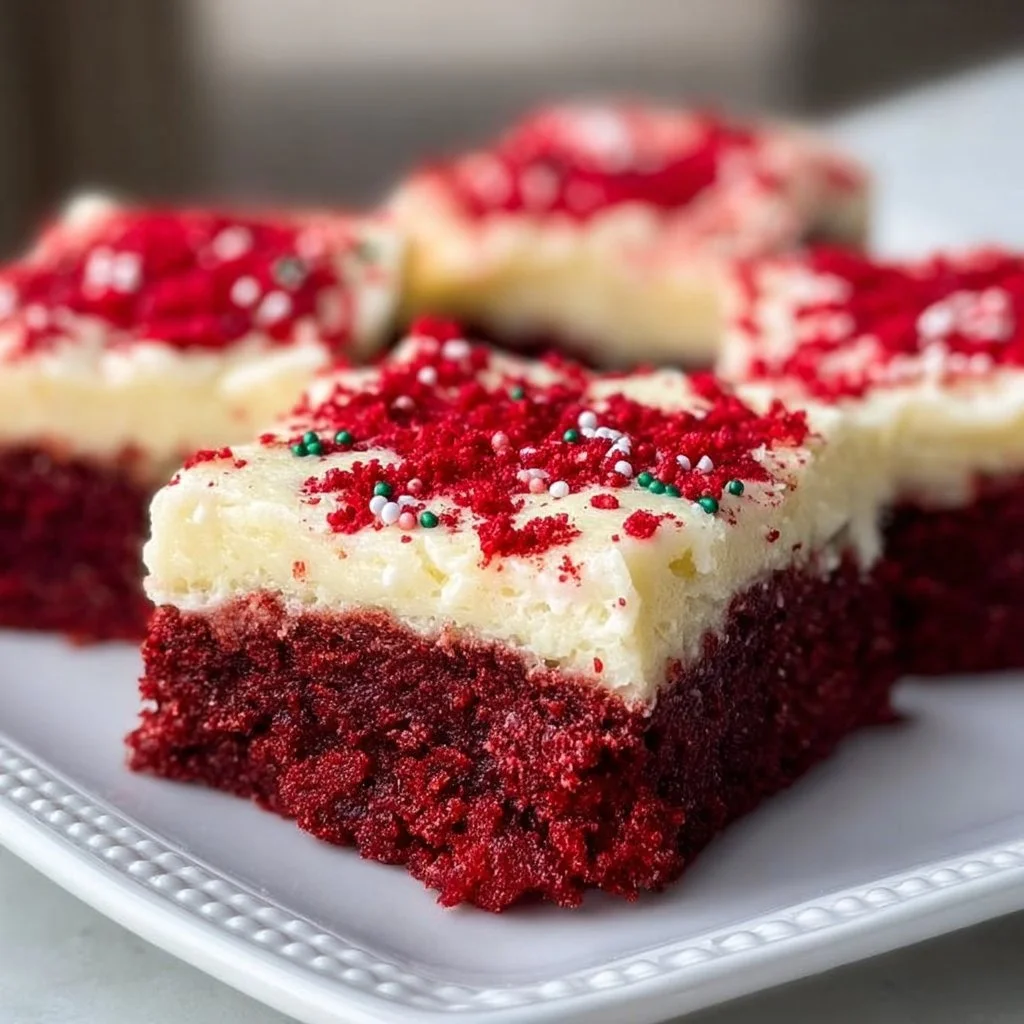
Red velvet cookie bars are a delightful treat that combines the rich flavors of chocolate with the signature bright red color. They offer a perfect balance of softness and chewiness, topped with a creamy frosting that elevates every bite. Whether you’re celebrating a special occasion or just want to indulge in something sweet, these bars are sure to impress.
Why We Love This Red Velvet Cookie Bars Recipe
This red velvet cookie bars recipe stands out for several reasons. Firstly, it’s incredibly easy to prepare, making it accessible for both beginner and experienced bakers. The cookie bars are infused with a rich chocolate flavor combined with the distinctive red hue that appeals to the eyes and taste buds alike. They are perfect for sharing at parties, lending a festive touch to any gathering. The creamy cream cheese frosting adds an extra layer of indulgence, making every bite irresistible. This recipe truly embodies the spirit of comfort food, allowing you to get creative with decorations for various occasions.
Ingredients about Red Velvet Cookie Bars
To prepare these delicious red velvet cookie bars, gather the following ingredients:
- 2 cups all-purpose flour
- 1/2 cup cocoa powder
- 1 teaspoon baking soda
- 1/2 teaspoon salt
- 1 cup unsalted butter, softened
- 1 cup granulated sugar
- 1 cup brown sugar, packed
- 2 large eggs
- 1 tablespoon vanilla extract
- 1 tablespoon red food coloring
- 1 cup cream cheese, softened
- 2 cups powdered sugar
- 1/4 cup butter, softened
- 1 teaspoon vanilla extract for frosting
How to Make Red Velvet Cookie Bars Directions
Let’s dive into the process of creating these delectable red velvet cookie bars. Start by preheating your oven to 350°F (175°C). This ensures that your cookie bars bake evenly. Next, prepare a 9×13 inch baking pan by greasing it with butter or non-stick spray. This step is crucial as it prevents the bars from sticking to the pan, allowing for easier removal later.
In a medium-sized bowl, whisk together the all-purpose flour, cocoa powder, baking soda, and salt until well combined. This mix of dry ingredients provides the foundation for your cookie bars. Moving onto another mixing bowl, cream together the softened unsalted butter, granulated sugar, and brown sugar until the mixture becomes light and fluffy. This process introduces air into the butter, which is vital for achieving a nice rise.
Once your butter and sugars are well combined, beat in the eggs one at a time, ensuring each is incorporated before adding the next. Follow this with the vanilla extract and red food coloring, mixing until everything is uniformly blended. The red food coloring is what brings that signature hue that makes red velvet desserts so appealing.
Gradually add the dry ingredient mixture into the wet mixture. It’s important to mix just until everything is combined to avoid overmixing, which can lead to tougher cookie bars. Once your batter is ready, carefully spread it evenly into the prepared baking pan, smoothing out the top with a spatula.
Place the pan in your preheated oven and bake for about 20-25 minutes. Keep an eye on them towards the end of the baking time; they are done when a toothpick inserted into the center comes out clean or with a few crumbs attached.
After baking, allow the cookie bars to cool completely in the pan. This cooling process is critical as it allows the flavors to set and makes it easier to frost them later. While the cookie bars are cooling, you can prepare the cream cheese frosting. Beat together the softened cream cheese, powdered sugar, softened butter, and vanilla extract in a mixing bowl. Continue to mix until smooth and creamy.
Once the cookie bars have cooled completely, spread the cream cheese frosting over the top in an even layer. For a decorative touch, consider adding sprinkles or crushed nuts on top of the frosting. Finally, cut the bars into squares, servinging them for everyone to enjoy.
How to Serve Red Velvet Cookie Bars
When it comes to serving these red velvet cookie bars, presentation can elevate the experience. Consider placing them on a decorative platter, perhaps with a few fresh berries or a drizzle of chocolate sauce on the side for added flair.
These cookie bars are especially perfect for gatherings, birthday parties, or holiday festivities. You can also enjoy them as a cozy dessert at home with your family. Pairing them with a glass of cold milk or a cup of coffee can enhance the flavors, making for a delightful treat anytime.
For a unique twist, try serving these bars with a scoop of vanilla ice cream on the side. The combination of warm cookie bars and cold ice cream creates a wonderful contrast that your guests will love. Always remember, the way you serve your red velvet cookie bars can influence the occasion and enhance the overall experience!
Expert Tips: Red Velvet Cookie Bars
To ensure your red velvet cookie bars turn out perfectly every time, here are some expert tips to keep in mind:
- Room Temperature Ingredients: Make sure your butter, cream cheese, and eggs are at room temperature before starting. This helps with even mixing and results in a better texture.
- Don’t Overmix the Batter: Once you combine the dry and wet ingredients, mix just until combined. Overmixing can lead to dense cookie bars.
- Use Quality Ingredients: The quality of your cocoa powder and food coloring can influence the taste and color. Opt for high-quality brands for the best results.
- Check for Doneness: Ovens can vary, so check your bars a couple of minutes before the recommended time. You’re looking for a slight firmness in the center and edges.
- Cool Completely: Allow the bars to cool completely in the pan before frosting. This prevents the frosting from melting and sliding off.
How to Store Red Velvet Cookie Bars
Proper storage of your red velvet cookie bars is essential to maintain their freshness. If you happen to have leftovers (which is often rare!), simply place them in an airtight container. You can keep them at room temperature for up to three days. If you want to extend their shelf life, store them in the refrigerator for up to a week.
For longer storage, these cookie bars freeze quite well. Simply layer them in an airtight container with parchment paper between layers to prevent sticking. They can be stored in the freezer for up to three months. When you’re ready to enjoy them again, simply thaw them in the refrigerator overnight, then let them sit at room temperature for a bit before serving.
Variation of Red Velvet Cookie Bars
Red velvet cookie bars are versatile, and you can enhance their flavor and presentation in several ways. Here are a few variations to consider:
- Chocolate Chip Addition: Stir in some semi-sweet or white chocolate chips into the batter for an extra burst of sweetness and texture.
- Nutty Twist: Add chopped nuts, like pecans or walnuts, for added crunch. Mix them into the batter before baking, or sprinkle them on top of the frosting.
- Different Frosting Flavors: While cream cheese frosting is classic, you can experiment with different flavors, such as a chocolate ganache or a vanilla buttercream.
- Red Velvet Swirl: For a more visually striking dessert, you could prepare a separate batter devoid of cocoa and carefully swirl it into the red velvet batter for a marbled effect.
- Mini Bars: Make smaller, bite-sized versions of the cookie bars by using a mini muffin pan. Adjust the baking time accordingly to ensure they cook through without burning.
FAQ
What makes these red velvet cookie bars different from regular cookies?
Red velvet cookie bars have a unique combination of flavors, primarily the richness of cocoa powder and the vibrant red color. The use of cream cheese frosting adds a distinct tangy sweetness that’s not typically found in regular cookie recipes.
Can I make these cookie bars gluten-free?
Yes, you can substitute all-purpose flour with a gluten-free blend. Make sure you’re using a blend that measures cup-for-cup to maintain the structure of the bars.
Is it necessary to use red food coloring?
While food coloring is essential for the classic red velvet look, you could reduce the amount or omit it for a more subtle hue. However, you may want to adjust the cocoa powder slightly to maintain a good color balance.
How can I tell when the cookie bars are done baking?
The cookie bars are done when a toothpick inserted into the center comes out clean or with a few moist crumbs attached. They should be slightly firm to the touch. Remember, they will continue to cook slightly as they cool in the pan.
What can I do with leftover frosting?
If you have extra frosting, you can refrigerate it in an airtight container for up to a week. It can be reused on other baked goods or as a dip for fruit. Feel free to get creative!

Red Velvet Cookie Bars
Ingredients
For the Cookie Bars
- 2 cups all-purpose flour
- 1/2 cup cocoa powder
- 1 teaspoon baking soda
- 1/2 teaspoon salt
- 1 cup unsalted butter, softened
- 1 cup granulated sugar
- 1 cup brown sugar, packed
- 2 large eggs
- 1 tablespoon vanilla extract
- 1 tablespoon red food coloring
For the Cream Cheese Frosting
- 1 cup cream cheese, softened
- 2 cups powdered sugar
- 1/4 cup butter, softened
- 1 teaspoon vanilla extract for frosting
Instructions
Preparation
- Preheat your oven to 350°F (175°C) and grease a 9x13 inch baking pan.
- In a medium bowl, whisk together flour, cocoa powder, baking soda, and salt.
- In another bowl, cream together softened butter, granulated sugar, and brown sugar until light and fluffy.
- Beat in the eggs one at a time, then add vanilla extract and red food coloring.
- Gradually mix the dry ingredients into the wet mixture until just combined.
- Spread the batter evenly into the prepared baking pan.
Baking
- Bake for 20-25 minutes, or until a toothpick inserted into the center comes out clean.
- Allow the cookie bars to cool completely in the pan.
Frosting
- In a mixing bowl, beat cream cheese, powdered sugar, softened butter, and vanilla extract until smooth.
- Once the bars are cool, spread the cream cheese frosting evenly over the top.
- Optionally, add sprinkles or crushed nuts on top of the frosting before cutting into squares.